
It’s winter for most of us in North America, which means when we take our action camera out into the wild, we’re hoping to film some epic snowboard, ski, snowshoe, or snow-based adventure. Here’s a few tips to get the most out of your shooting experience…
Set Up For Success, Not For Chance
The new action-cams on the market, including the GoPro Hero4 Black, can provide you with 4K of luscious resolution. Unless you’re working for a Warren Miller production, you don’t need it. 1080p will do just fine. Plenty of High-Def loving, without the unwieldy file sizes, and great for snappy YouTube uploads.
Field Of View
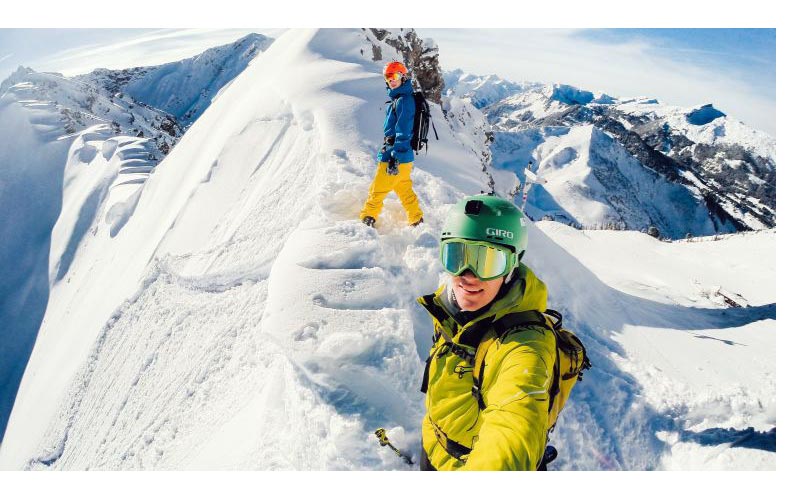
Action cams give you plenty of options for Field of View, Narrow, Medium, Wide and in some cases, SuperView. Wide is a good choice and works in a variety of scenarios. Better, it often will capture the horizon and your deck, skis, and/or feet at the same time, providing an immersive experience for the audience. As a side benefit, it can smooth out the bumps and jostling, as opposed to Narrow, which will turn any moving shot into a scene from Earthquake.
Frames Per Second
Choose your frames per second based on the shot your taking. 30 fps will provide the best resolution and is great for establishing shots, static shots, such as interviews or introductions, and anything else where there’s not a lot of movement. 60 fps is great for helmet mounts and other hard mounts, including poles, where the additional frames will smooth out any vibrations and slow things down just enough for your audience to keep up with the action. 120 fps is what you want to dial in when you’re about to film an epic stunt or fail. This is a new 1080 setting on the GoPro (v3.0.0), and is great for cinematic slow-motion to capture the detail and nuances of the activity.
Filters
Employing a ND (Neutral Density) or Polarizing Filter to your action-cam can help you manage the extreme brightness that can overcome your settings on a sunny day resulting in an overexposed White Out. While ND Filters are primarily used for controlling the exposure to dial in depth-of-field, and in the case of actioncams, providing a bit of motion blur for increased visceral energy, it can certainly help tame light reflecting off the snow and into your sensor.
Another solution is utilizing a Polarizing Filter. In our PolarPro GoPro Filter review, we found: “the Polarizer cut down on snow reflections and added texture to the snow for increased depth, a real bonus since the GoPro tends to wash out in overly bright conditions.” If you shoot on snow (or water) a lot, the PolarPro filter 3-Pack is a solid investment, and will let you experiment with both methodologies.
Remember You’re Telling A Story
» Beginning: Start with an Establishing Shot to set things up for your audience. Whether it’s a nice, sweeping pan of the mountains, a shot of ski mountain sign, or anything else that tells your viewer: this is where we are. Next, Introduce The Cast — provide every one who is going to be part of your movie the opportunity to walk into close-up and state their name, as well as why they will be tolerating you annoying them for the rest of the day.
» Middle: Now it’s time to showcase the fun. Allow each cast member to reveal their personalities in their own unique way, whether it’s a sick Devil’s Cross in the middle of a bump field, a pow shot to the face, or even a quick smile on the lift, this is where everyone should get some ‘quality screen time.’
» End: Finish your movie with an epic stunt, a joke that recaps the whole day, or a hysterical fail (we’re talking Yard Sale or faceplant, not a trip to the OR). Have everyone wave Goodbye and you’re out. Done. Finished.
Keep It As Short As Possible
Remember the old axiom: A film should be like a skirt: short enough to be interesting, but long enough to cover the important bits.
This usually means editing your final footage to a length under three minutes. Yes, and if you can make it two, all the better. If you have any doubt whether to keep or cut a sequence in your final cut, the answer is toss it. Again, keep them wanting more…
Listen to this on Future Filmmaking Micro Radio: